Showing posts with label My Recipes. Show all posts

Friday, February 24, 2012

Quite Possibly The Best Banana Bread Ever...

When it comes to Banana Bread, I've tried quite a few recipes. I came across this recipe the other day when I was looking to try something new. I have to admit the title caught my eye "No Ordinary Banana Bread". So I thought to myself....why not put it to the test and give it a try? Can I just say.....O'ma Goodness! This banana bread blew all the other recipes I've tried out of the water. It has a couple of ingredients that keep it super moist and the chocolate chips on top add a little something special. I can see this recipe will become a family favorite!


Banana Bread
¾ cup butter, softened 
2 eggs
1 ½ cup brown sugar
7 medium mashed bananas ( about 3 cups)
*Here's the secret. Substitute one of the cups of bananas with 1/2 cup crushed pineapple and 1/2 cup applesauce.
1 ½ teaspoons baking soda
½ teaspoon salt
1 teaspoon vanilla
½ teaspoon cinammon
2 ½ cups flour
1 (11 ounce) bag milk chocolate chips

Preheat oven to 325 degrees.

Cream butter, eggs, brown sugar, bananas, applesauce and crushed pineapple with a mixer. Add baking soda, salt, vanilla, cinnamon, and flour. Mix well.

Pour into 3 medium bread pans ( I like to use disposable foil pans) and sprinkle chocolate chips evenly over the batter. Bake at 325 for 55 minutes to 1 hour.

Go ahead, pour yourself a nice tall glass of cold milk and dig in while it's hot!
It's so moist and delicious...and really easy to make! 
Enjoy!!

Recipe courtesy of: The Girl Who Ate Everything
Pin It

Tuesday, February 21, 2012

Boston Creme Poke Cake...

So, I'm well into my third trimester now and I'm craving ooey gooey sweet stuff all the time! Looking around today on the internet for a quick and easy dessert recipe led me to one fabulous  little place..... My new favorite slice of heaven!
If you like Boston Cream donuts, I promise you’ll like this easy recipe.

Boston Cream Poke Cake
Print
Prep time: 5 mins
Cook time: 30 mins
Total time: 35 mins
Serves: 12-16
A simple and delicious cake-version of Boston Cream Donuts
Ingredients
  • - Yellow Cake Mix (and cake ingredients)
  • - French Vanilla Pudding (5.9 oz. box)
  • - Chocolate Pudding (5.9 oz. box)
  • - Milk
Instructions
  1. Make cake as directed in a 9×13 pan.
  2. Poke holes into cake using the end of a large wooden spoon while cake is semi-warm.
  3. Make French Vanilla pudding as directed. Wait a minute for it to thicken up a little more and pour over cake.
  4. Make Chocolate pudding as directed. Pour over cake as well.
  5. Refrigerate at least for 30 minutes and serve.
Recipe courtesy of Lil' Luna.

This cake is seriously so quick and yummy! 
Enjoy every last bite...
Pin It

Thursday, February 2, 2012

Slow Cooker Chicken Caesar Salad Sandwiches...

Are you ready for some football??? The Super Bowl is coming up this Sunday and like most women out there we love watching it for the entertainment and great commercials. To be honest, I just enjoy having a few close friends over and cooking up a couple of tasty treats for them to enjoy while they're sprawled out on my couches.  Here's one of my new favorites recipes I'll be making, It's so easy, Ladies...


Slow Cooker Chicken Caesar Salad Sandwiches
  • 2 pounds boneless skinless chicken breasts or thighs (I prefer and used chicken breasts)
  • 1/2 to 1 cup Caesar dressing (I used Brianna’s Asiago Caesar)
  • 1/2 cup shredded Parmesan cheese
  • 1/4 cup fresh chopped parsley or 2 teaspoons of dried parsley
  • pepper to taste
  • 6 pieces romaine lettuce
  • 6 hoagie style rolls or buns
  • butter
  • additional Parmesan cheese, if desired
  1. Place chicken in a slow cooker with 1 cup water.
  2. Cover and cook on low heat for 4-6 hours until chicken is fully cooked.
  3. Remove chicken from slow cooker and shred.
  4. Remove the water from the slow cooker.
  5. Return the chicken to the slow cooker and add the dressing, Parmesan cheese, parsley, and pepper over the top.
  6. Stir until well combined. Cover and cook for 15 more minutes or until heated through.
  7. Meanwhile, spread butter in the inside of the rolls and place under a broiler until toasted and golden brown.
  8. To serve top each roll with a piece of romaine, followed by the chicken mixture and addition Parmesan if desired.
Recipe adapted fromReal Mom Kitchen

You're guests will LOVE this, trust me so make a double batch! Whatever your plans are this weekend, I hope you are surrounded with lots of love, laughter and make some great memories cheering for your favorite team! As for me....I don't care who wins....as long as it's not the Patriots!! {hee, hee}


Pin It


Wednesday, December 28, 2011

Champagne Cupcakes with Buttercream Frosting...


Pin It

Happy Wednesday! I hope your week is off to a wonderful start. If you're like me you're buried in boxes and Christmas decorations you're painstakingly trying to package up and put away before the New Year begins and your home looks like a department store after they have a holiday 75% off clearance merchandise sale {violated and abused}.  So let's take a minute to breathe and let go, ready....Aaaaaahhhhhh!

Pinned Image

Yesterday I posted a few of my favorite New Year, New Beginnings holiday looks I'll be trying to decide on for my New Year's Celebration get together. Since it'll be a low key evening spent with great friends, I needed to find a little something special to bring to the party. Needless to say, when I came across this recipe for Champagne Cupcakes on Pinterest, I couldn't have been more excited. The best part is now {at 6 months pregnant} I can have "champagne" for New Year's Eve too! 

Here's how you make them:


Champagne Cupcakes

 { made 36 mini cupcakes }

Cupcake Ingredients
2 3/4 cups all-purpose flour
3 tsp. baking powder
1 tsp. salt
2/3 cup butter
1 1/2 cups white sugar
3/4 cup champagne (we used Korbel is fine)
6 egg whites
Champagne Buttercream Frosting Ingredients
3 1/4 cups powdered sugar
1 cup butter, at room temperature
1/2 teaspoon vanilla extract
3 tablespoons champagne, at room temperature
Directions
Cupcakes:
Preheat oven to 350 degrees F (175 degrees C).  Prepare a cupcake pan with liners.  (This recipe yielded about 20 for me.)
In a large bowl, cream together butter and sugar until very light and fluffy. Sift flour, baking powder, and salt together, and then blend into creamed mixture alternately with champagne.
In another large clean bowl, beat egg whites until stiff peaks form. Fold 1/3 of the whites into batter to lighten it, then fold in remaining egg whites.  Fill the cupcake liners about 2/3 full.
Bake at 350 degrees F (175 degrees C) for 20 minutes, or until a toothpick inserted into the cake comes out clean.
Frosting:
With an electric mixer, beat together sugar and butter. Mix on low until well blended, and then on medium for another two minutes.  Add vanilla and champagne, beating on medium for another minute. Fill you favorite pastry bag with fluted tip, and frost away!


There you have it, it's that easy! What a fun and sassy way to

 ring in the new year! You're guests will keep coming back for

 more of these little popable, adorable frosted delights. 


If baking just isn't your thing....No worries! Just remember this....

Pinned Image

I'm sharing this recipe over at My Uncommon Slice of Suburbia for Tuesday's Treasures. Stop by and find more inspiring recipes and home decor ideas!


Have a beautiful day!


Monday, December 26, 2011

Sausage Apple Overnight Breakfast Cassarole, shared with fond Christmas memories...

 My life is filled with so many blessings, one of them being you! I've been blogging for a full year now and  have formed so many friendships along the way...all of which mean the world to me! Thank you all for your wonderful love and support you've shared with me throughout this past year.

It was a beautiful Christmas this year in our home... I hope yours was just as lovely! I didn't take any pictures,  we really wanted a low key, relaxing Christmas with family. Don't worry though, with our first born on the way in April,  I'm sure next Christmas our cameras will be OVERLOADED with pictures ready to share with everyone...by then she'll be 8 months old!! See how quickly time flies?

 This year we thought it would be nice to just relax and enjoy time with family instead of rushing around everywhere to get a million things done, that in the end don't really matter {especially when it comes time to spending time with your family}. We spent Christmas Eve at my mom's house {in honor of my grandmother} who passed away this year. With a full spread of home cookin' to snack on, we had such a great time sharing stories and our fondest memories of her throughout our lives.

What a blessing she was to our family!


 Memories of my grandmother Wilma's delicious home cookin' will always stay with me! She raised a family of some amazing cooks, let me tell you. So for Christmas this year I wanted to make a little homestyle breakfast casserole for my family at home and share the recipe with all my blog family here.

This recipe is so easy to make and the best part is you can make it the night before and just pop it in the oven the next morning when you get up...I love it!!  So, here's what I made...


Sausage Apple Overnight Breakfast Casserole

  • 1 pkg. Jimmy Dean® Maple Flavor Pork Sausage Roll
  • 6 cups bread cubed into ¾-inch pieces
  • 10 eggs
  • 3 cups milk
  • 1 teaspoon vanilla
  • 2 large granny smith apples, peeled and chopped
  • 2 tablespoons sugar
  • 1 teaspoon ground cinnamon
  • 2 cups shredded cheddar cheese, divided
  • maple syrup, if desired
  1. Brown sausage in a skillet until cooked; drain.
  2. In a large bowl, whisk together eggs, milk and vanilla until well blended.
  3. In another bowl, mix apples, sugar and cinnamon together until well coated.
  4. In a greased 9 x 13 inch baking dish,  place half of the breadcubes followed by half the sausage, half the apples, and and 1 cup of the cheese.  Repeat layers with remaining ingredients.
  5. Pour egg mixture over the layers making sure to evenly coat it all with the egg mixture.
  6. Place in fridge and refrigerate overnight.
  7. In the morning, remove the casserole from the fridge and preheat oven to 325 degrees.  Bake uncovered for 55-60 minutes or until knife inserted in center comes out clean. Cut into 6-8  pieces and served topped with a drizzle of maple syrup if desired.
Recipe adapted from: Real Mom Kitchen


Thank you for stopping by! I hope your Christmas and memories of Christmas past keep you cozy warm this week, sprinkled with lots of love and hugs! 

Thursday, December 22, 2011

Cookie Dough Dip...

This time of year I love to have delicious dip recipes for serving when we get together with family and friends, and the holidays. O'ma Goodness....this dip speaks for itself!! Originally the recipe called for just chocolate chips,  but I always like to add a little something special so I thought "mmmmm, toffee chips". C'mon, What compliments chocolate better than toffee?

That little bit of crunch and toffee flavor tipped this already delicious dip right on over to out of this world!

My secret....I’ve served it with chocolate graham crackers, honey graham crackers, animal crackers (for the kiddies) and even some apple wedges. But, this dip would be heavenly just licking it straight off the spoon....trust me on this one! All you need is a cracker or apple slice to look dignified while you are gobbling it up. So, the choice is really yours on what you serve with this dip.
Here’s how you make it....

Cookie Dough Dip Recipe
Prep Time: 10 minutes
 Total Time: 10 minutes
Yield: 12
The most delicious recipe for cookie dough dip you've ever tasted.
Ingredients
  • 1 8-ounce package cream cheese, softened
  • 1/2 cup butter, softened
  • 1 cup powdered sugar
  • 2 tablespoons brown sugar
  • 1 1/2 teaspoons vanilla
  • 1 cup chocolate chips
  • 1 cup toffee bits
Instructions
  1. Cream together cream cheese and butter.
  2. Add all remaining ingredients and mix until well-combined.
  3. Serve with graham crackers or apple wedges.
I hope you love this delicious treat as much as I did and if you have any creative ways of serving it up or other delicious add-ins I'd love to hear your spin on it! 


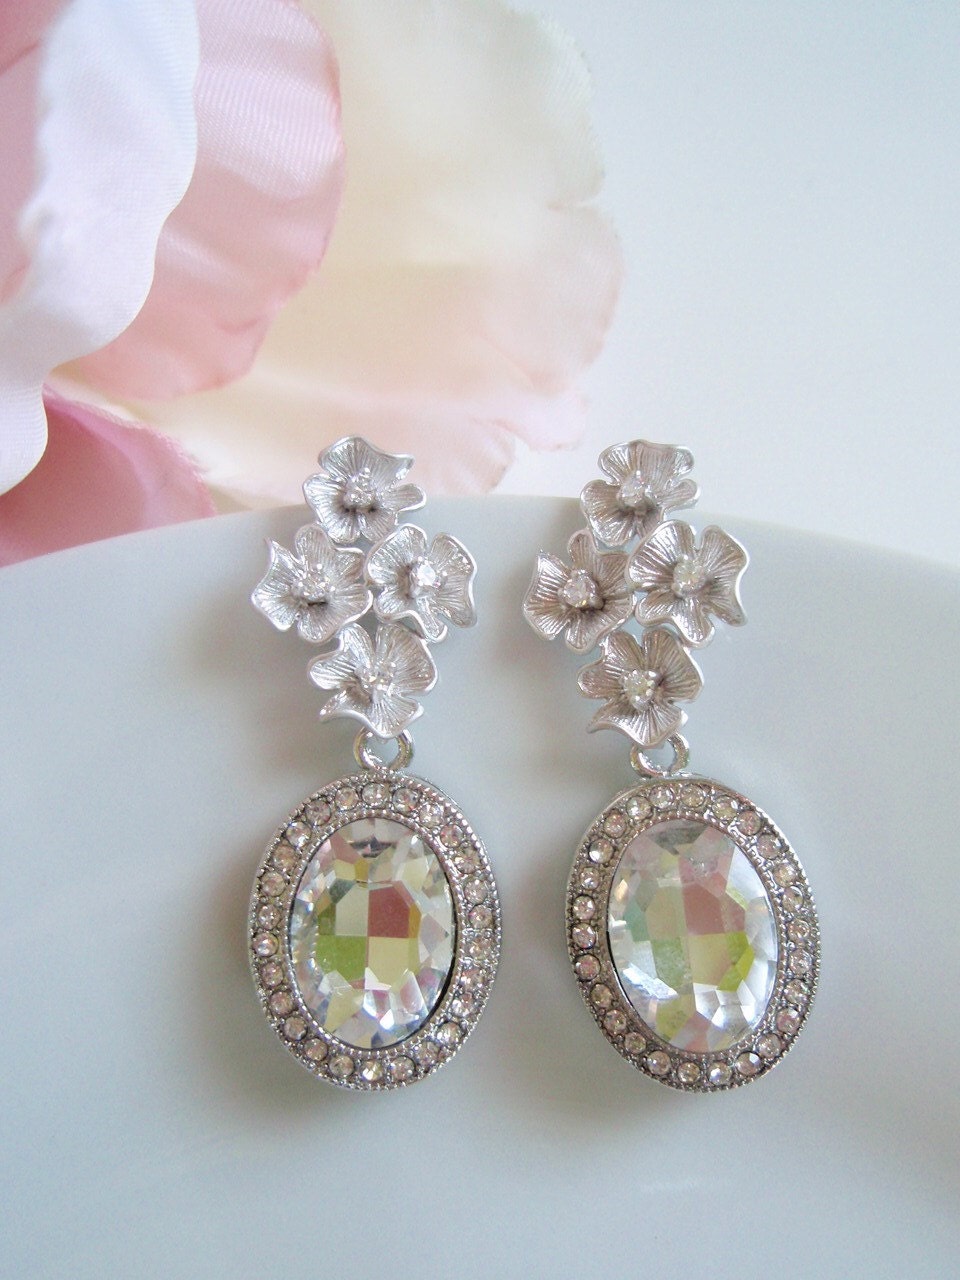
Don't forget to enter to win these fabulous earrings during my Holiday Bling Giveaway....


MAIVE - White Gold and Crystal Vintage Inspired Earrings


There's still plenty of time and THREE chances to win! Here's the link with all the details on how to enter:
Holiday Bling Giveaway from WhimSea Designs

Have a delicious day, Everyone!

Tuesday, December 13, 2011

Mini S'mores Cup Cookies...

Mmmmm, sweet smells are filling up my kitchen this week! With only two weeks until Christmas...I've got a lot of baking to do, so I thought I'd share another one of my favorite little treats with you. This is an amazing Pampered Chef recipe I came across recently and it makes the perfect gift to take to a Christmas "Cookie Exchange Party". They're quick and easy and you'll be the biggest hit at the party....

S'more Cups

Preheat oven to 350 degrees F. Place graham crackers into a large resealable plastic bag. Finely crush into crumbs. Combine graham cracker crumbs, powdered sugar, and butter in a small bowl.
Place 1 tablespoon of crumb mixture in each cup of a mini muffin pan. Press crumbs to form shallow cups. Bake 4-5 minutes or until edges are bubbling. Meanwhile, break two of the candy bars into rectangles. Remove pan from oven; place one rectangle into each cup.

Cut marshmallows in half crosswise using shears dipped in cold water. Place one marshmallow half, cut-side down, into each cup. Return to oven 1-2 minutes or until marshmallows are slightly softened. Remove pans from oven to cooling rack; cool 15 minutes. Carefully remove cups from pan. Cool completely.
Break remaining candy bars and place in small microwavable bowl. Microwave on high 1 to 1 1/2 minutes or until melted and smooth, stirring every 20 seconds. Dip the top of each marshmallow in melted chocolate. Turn top-side up and let stand 40 to 60 minutes or until set. Makes 24 cups.

Note: Store the cups in a single layer in an airtight container for up to 1 week. Freezing is not recommended. For a richer chocolate flavor, substitute dark chocolate candy bars for the milk chocolate.


WARNING:  THESE YUMMY LITTLE GUYS ARE HIGHLY ADDICTIVE....
TRY NOT TO EAT THEM ALL BEFORE YOU GET TO THE PARTY, OKAY?   {wink}